-
Unboxing and Checking Components:
Once you receive your REVO Ultra NVR kit, open the box and verify that you have received all the components listed in the packing list. It should include the following:
- NVR (Network Video Recorder)
- IP Cameras
- CAT5e cables (matching the number of cameras)
- 6ft network
- 6ft HDMI cable
2. Please follow the following steps for setup:
- Run the necessary Ethernet RJ45 cables from the NVR location to the desired camera location. No pre-configuration is needed!
- At the camera installation location, connect the Ethernet Cat5e cable to the camera and mount the camera.
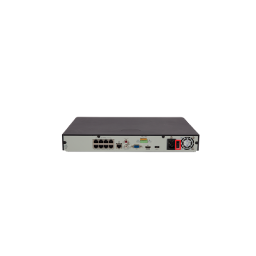
- Choose a suitable location for your NVR and connect all the necessary accessories.
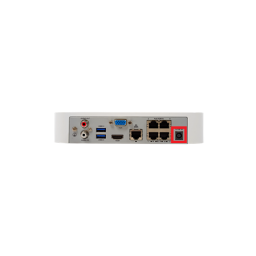
FOR REVO ULTRA System 4 and 8 CH 1 SATA
Network cable from NVR to a router
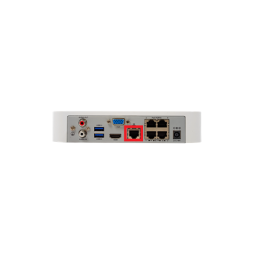
HDMI or VGA cable from NVR to a HD monitor
Mouse to the back of the NVR
One end of the NVR Power supply to the back of the NVR and the other end(prong) to a wall power outlet
Discover step-by-step security camera setup in our video tutorial!
Download our comprehensive PDF guide for expert tips on setting up security cameras with ease!
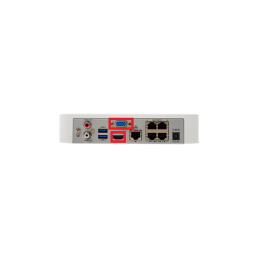
FOR REVO ULTRA System 8 and 16 CH 2 SATA
Download our comprehensive PDF guide for expert tips on setting up security cameras with ease!
Network cable from NVR to a router
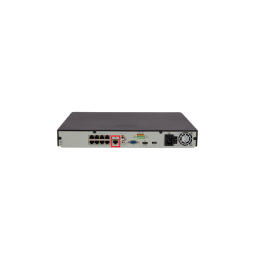
HDMI or VGA cable from NVR to a HD monitor
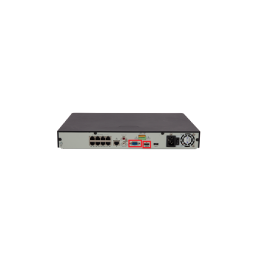
Mouse to the back of the NVR

One end of the NVR Power cord to the back of the NVR and the other end(prong) to a wall power outlet
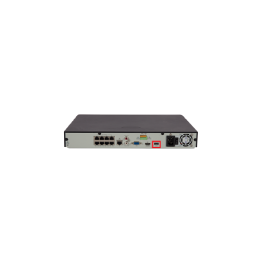
Press the Power switch to turn on the NVR
Master the art of security camera installation with our concise video guide!
Initial Setup:
Default Password:
When you boot up the NVR, the default password is “123456.” However, for security purposes, it is essential to change the default password to a strong one containing at least nine characters, including letters, digits, and special characters.
Basic Setup:
The NVR’s setup wizard will guide you through the most fundamental configuration steps. Enable or disable the wizard as needed and follow the instructions to complete the setup. This includes selecting the time zone, date and time format, and system time.
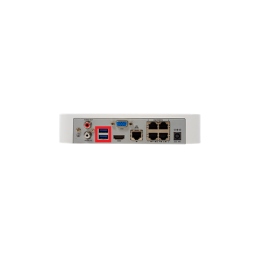
Network and Display Connections:
Connect one end of the network cable from the NVR to your router. Use an HDMI or VGA cable to connect the NVR to an HD monitor. Ensure that the NVR is securely connected to a power outlet using the provided power supply or cord.
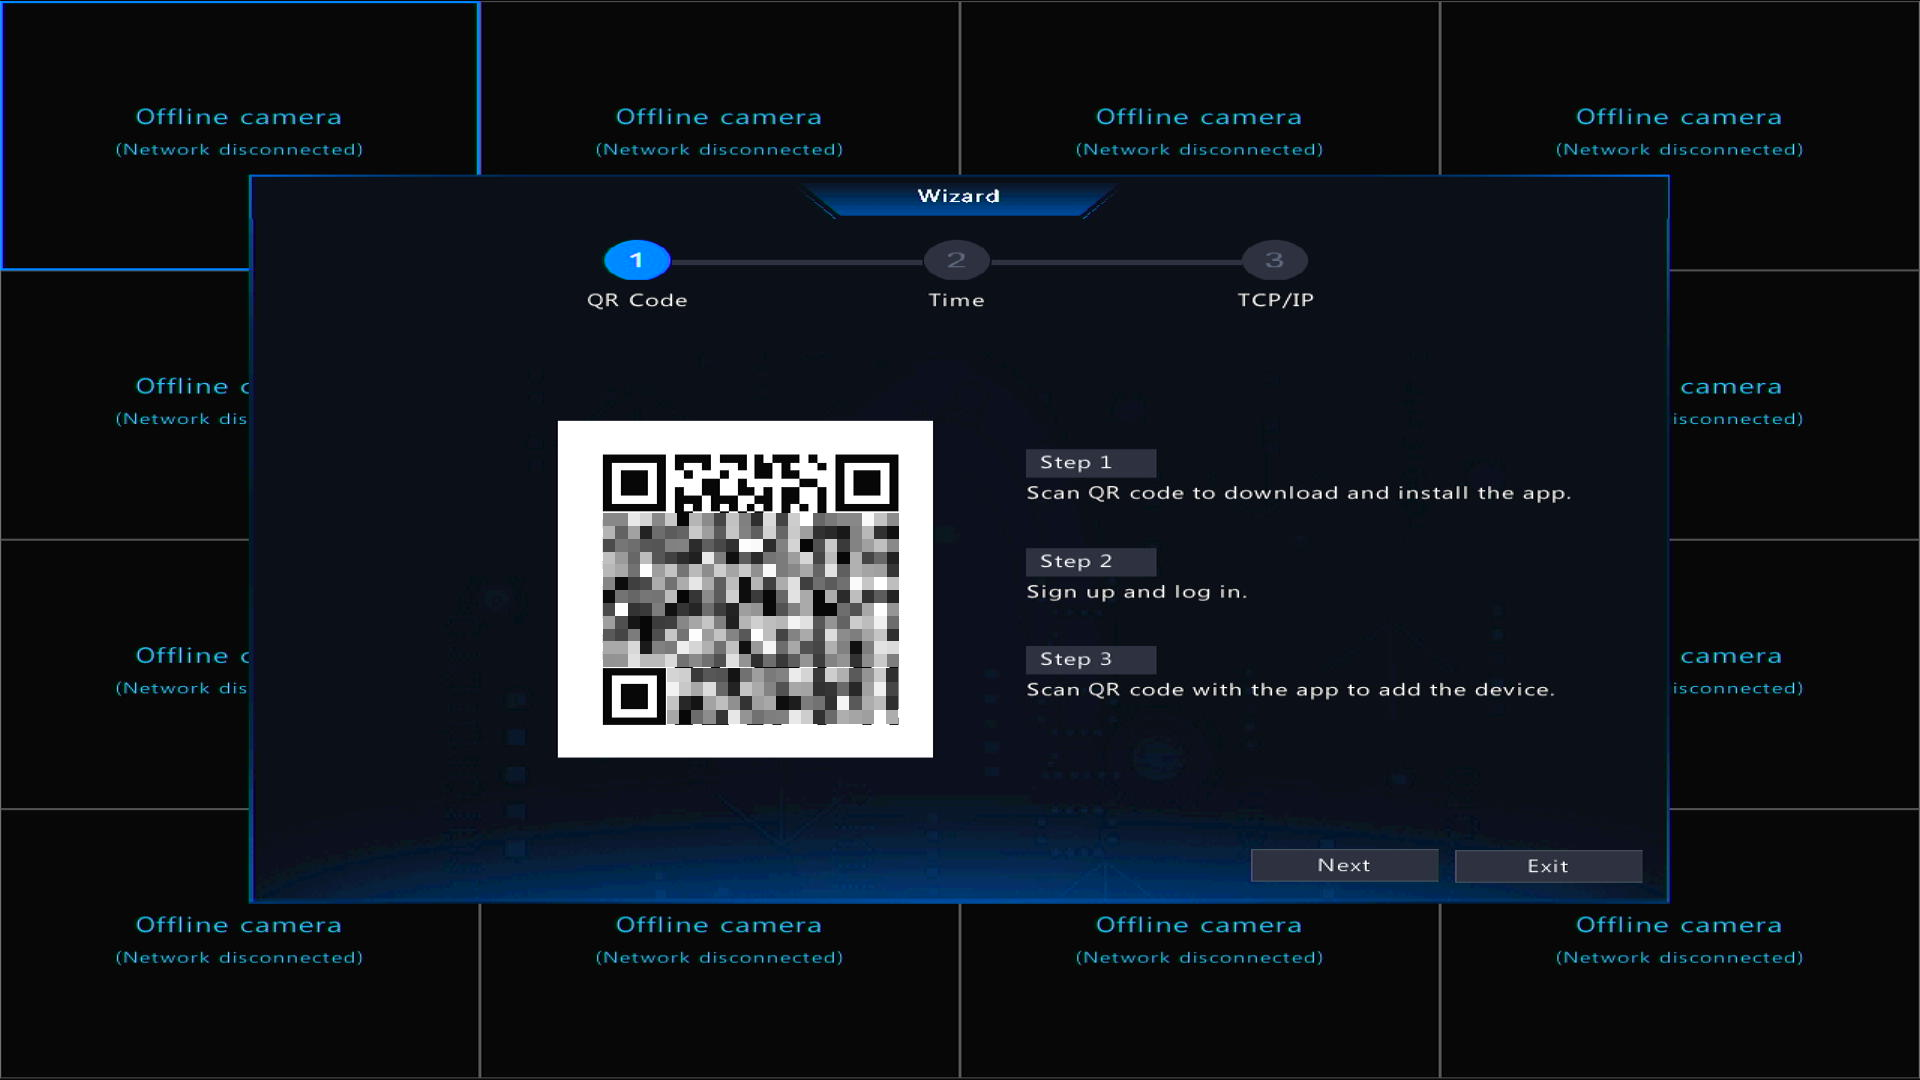
Enable or disable the wizard as needed and then click Next. You may also click
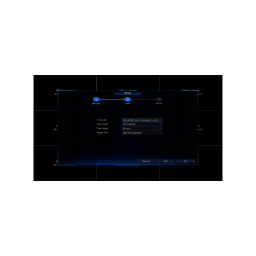
Select the time zone, date and time format, set the system time, and then click Next.
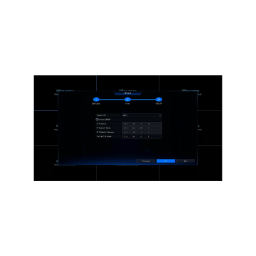
Complete network configuration, and then click Next. By default, the NVR is set to DHCP and should already have an IP assigned to it from the router
Connecting Cameras:
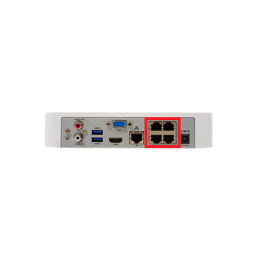
3.1 PoE Camera Setup:
The REVO Ultra NVR uses Power over Ethernet (PoE) technology, allowing the Ethernet cable to transmit both video data and power to the cameras. Connect the Ethernet Cat5e cable to the PoE camera ports on the back of the NVR. No additional power adapters are needed for the cameras.
3.2 Camera Installation:
At each camera installation location, connect the Ethernet Cat5e cable to the camera and mount the camera securely.
In just a few short moments, you should start to see live video from your REVO ULTRA Cameras
GETTING YOUR REVO ULTRA NVR ONLINE
The REVO Ultra NVR comes with the P2P service on by default. All you have to do to see the NVR remotely is go to http://www.myrevocloud.com on your PC or download the REVO ULTRA app from your smart phone and sign up for an account.
Adding Your NVR on PC
Now let’s proceed with adding your REVO Ultra NVR to your PC for remote viewing:
- Ensure that your PC is connected to the internet and launch your preferred web browser.
- Go to http://www.myrevocloud.com and click on the “Sign up” button in the upper right-hand corner of the page.
- Enter your desired new user information, including your username, password, and email address. Click the “Acquire” button next to the email field.
- A verification notification will be sent to your email address. Retrieve the verification number from the email and enter it in the “Verification Code” field on the myrevocloud page. Click the “Sign up” button to create your account.
- Once your account is created, you can use the “Add Device” button on the page to add your NVR. To do this, you will need your NVR’s Register Code, which can be found in the NVR’s menu under System > Network, specifically under the “P2P” tab.
Remote Viewing through REVO ULTRA App:
To access your cameras remotely, follow these steps:
Create a MyRevocloud Account:
Open your browser and go to www.myrevocloud.com. Click on “Sign up” and provide the required information, including your desired username, password, and email address. Verify your account using the verification code sent to your email.
Add NVR to Your Account:
Once your account is created, use the “Add Device” button on the MyRevocloud page. You will need the NVR’s Register Code, located in the NVR’s menu under System > Network > P2P tab.
REVO ULTRA Mobile App Setup:
Download the REVO ULTRA mobile app and open it. Tap on “Sign up” and enter your email address, agree to the Service Agreement, and tap “Verify.” Enter the verification code received in your email, create a password, and tap “Sign up.”
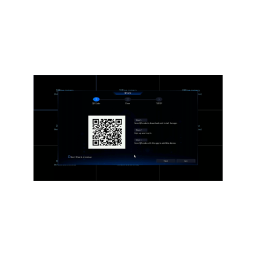
Adding NVR to the Mobile App:
In the mobile app, tap the menu icon (upper left corner) and select “Devices.” Tap the “+Add” icon at the top middle of the screen and use your smartphone’s camera to scan the QR code from your NVR’s GUI (System > Network > P2P tab).
Accessing Live Video Feeds:
Adding Cameras:
On the NVR’s live view page, click on the circled “+” in the middle of the channel square of your choice. From the “Cameras” list, select the Ultra NVR, followed by the desired camera. The live video from the selected camera should start streaming within moments.
Stream Quality and Controls:
To control the video streams and quality, you can click the double box icon with the “X” to stop the stream(s). The “monitor” graphic in the bottom right corner allows you to change stream quality between Clear, Balanced, and Smooth options.
Warranty Information
We want to assure you that your investment is protected. All our REVO Ultra cameras come with a 2-year warranty. In case of any manufacturing defects or issues, please contact our customer support at (866) 625-7386 or reach out to us through support@revoamerica.com. Our dedicated team is ready to assist you with any queries or concerns you may have.
Congratulations! You can now monitor your REVO Ultra NVR cameras from your mobile device using the REVO Ultra app. The intuitive interface and easy-to-use features allow you to keep an eye on your property and loved ones, no matter where you are.
Conclusion
In conclusion, setting up and maximizing your REVO Ultra NVR Video Surveillance System is a straightforward process that guarantees enhanced security and peace of mind. By following the step-by-step instructions provided in this guide, you can seamlessly configure your system, access remote viewing capabilities, and monitor your cameras from anywhere using the myrevocloud account and REVO Ultra mobile app.


No Comments